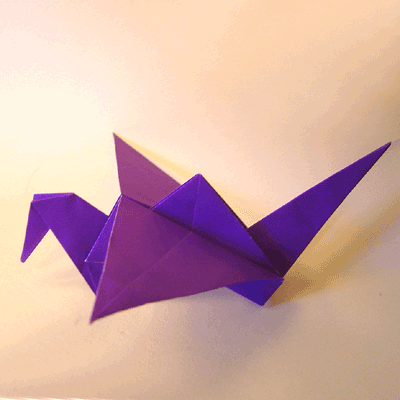
This origami flapping bird is similar to the crane except for one important detail: it can flap its wings!
Make sure you use thin origami paper to ensure the flapping of the wings works well.
|
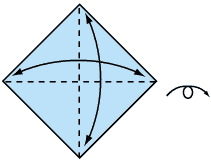
1. Start with a square piece of paper, coloured side up.
Fold the top corner of the paper down to the bottom corner. Crease and open again.
Then fold the paper in half sideways.
|
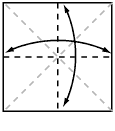
2. Turn the paper over to the white side.
Fold the paper in half, crease well and open, and then fold again in the other direction.
|
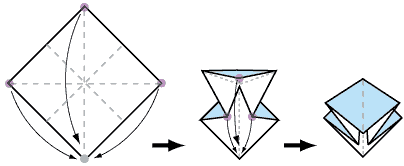
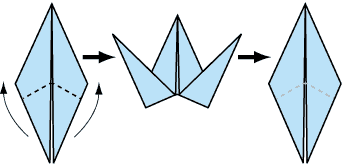
3. Using the creases you have made, Bring the top 3 corners of the model down to the bottom corner.
Flatten model.
|
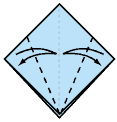
4. Fold top triangular flaps into the centre and unfold.
|
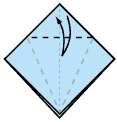
5. Fold top of model downwards, crease well and unfold.
|
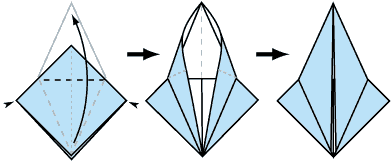
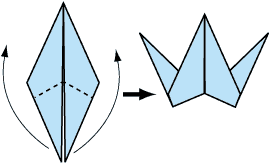
6. Open the uppermost flap of the model, bringing it upwards and pressing the sides of the model inwards at the same time.
Flatten down, creasing well.
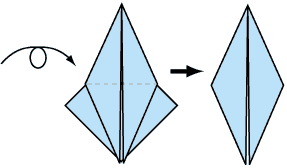
7. Turn model over and repeat Steps 4-6 on the other side.
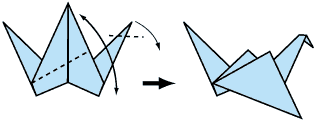
8. Fold legs upward along the outside edges, then open again.
9. Use these creases to inside reverse fold these parts.
10. Inside reverse fold the head, and fold down the wings as shown. Then partially open them up again.
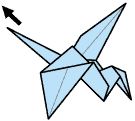
Finished flapping bird.
To make the wings flap forward, pull the tail gently outwards.

0 Comment "Origami Flapping Bird Instructions"
Post a Comment